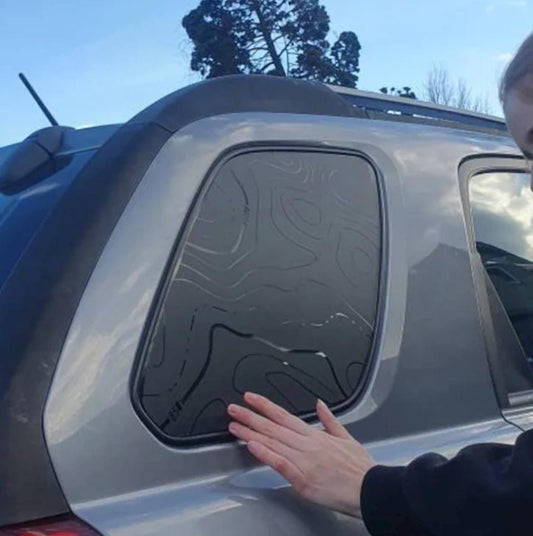
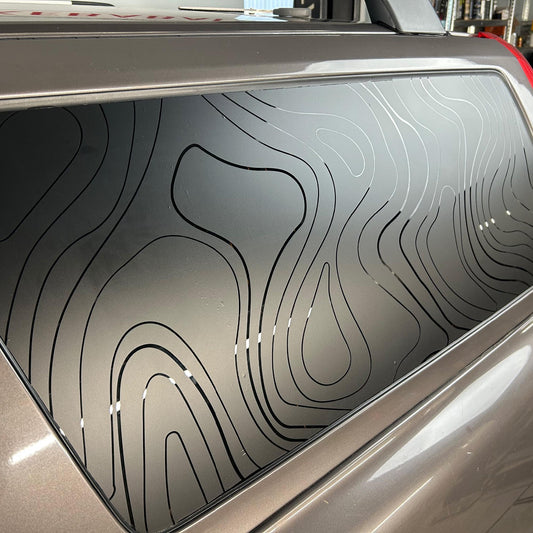
Fitting VW Transporter door decals yourself takes an afternoon, a squeegee and a bit of patience. In this video we install our topographic front door wrap on a silver Transporter, from cleaning the panel to the last trim around the wheel arch, so you can see every step before you try it on your own van.
What you're installing
The VW Transporter door decals in the video are our Topographic Door Wrap Decals, a pair of map-line graphics for the front doors:
- Fits: VW T4, T5, T6 and T6.1 Transporter, Multivan and California
- Size: 300 × 770 mm (11.8 × 30.3 in) per door
- Material: ORACAL 970RA wrap vinyl with air-release channels, so trapped air is easy to push out
- Colours: matte or gloss black, white and 13 more gloss colours
- Supplied as a sheet: the lines run past the door edges, and you trim them to your van during fitting
Tools you'll need
- Panel cleaner or isopropyl alcohol and a microfibre cloth
- Masking tape
- A felt-edge squeegee
- A sharp snap-off knife
- A heat gun or a strong hair dryer
We use the same squeegee and knife that we sell.
How to install VW Transporter door decals, step by step
1. Clean the door
Spray the door with cleaner and wipe it down with a microfibre cloth, paying extra attention to the area around the wheel arch and the door edges. Any wax, dust or grease left behind will show as a bump or stop the vinyl sticking.
2. Dry-fit the sheet
Hold the sheet against the door without removing the backing. Line it up with the front edge of the door and the wheel arch, and step back to check it from a distance before committing.
3. Hinge it with masking tape
Run a strip of masking tape across the top of the sheet so it hangs from the door like a hinge. Now you can lift it, check it and lower it again without losing your position.
4. Peel and squeegee from the top down
Flip the sheet up on its hinge and peel the backing away a section at a time. Lay the vinyl down and squeegee from the top downwards, using firm, overlapping strokes. Take your time: the air-release vinyl lets small bubbles escape, but a slow, even squeegee gives the cleanest result.
5. Remove the transfer tape
Once the whole sheet is down, peel the white transfer tape back slowly at a sharp angle, close to the surface. Only the black topo lines stay on the paint. If a line lifts with the tape, lay the tape back down and squeegee that spot again.
6. Trim along the door gaps and wheel arch
Cut the lines that run past the door edges with a sharp knife, following the panel gap. Use light pressure so you cut the vinyl, not the paint. Around the arch, leave a little extra to wrap over the edge.
7. Heat and tuck the edges
Warm the edges with a heat gun, then press them around the arch lip and into the door gaps. Heat helps the vinyl take the shape of the panel and stops the ends lifting later. Keep the gun moving, so the vinyl gets warm, not hot.
8. Repeat on the other side
VW Transporter door decals come as a left and right pair. Mirror the position of the first door so both sides of the van match.
Tips from our workshop
- Work indoors: wind and dust are the enemy of vinyl. A garage at room temperature is ideal.
- Don't rush the transfer tape: peeling it fast or at a shallow angle is the most common reason fine lines lift.
- Change knife blades often: a fresh blade makes clean cuts in one pass.
- Give it time: leave the van out of the car wash for a couple of days while the adhesive settles.
Questions about VW Transporter door decals
Do these door decals fit my van?
They are made for the front doors of the T4, T5, T6 and T6.1 Transporter, including the Multivan and California. Because the sheet is trimmed on the van, small differences between models don't matter.
Can I install them on my own?
Yes. In the video it's a one-person job. A second pair of hands helps when you peel the backing on a large sheet.
Will the decals damage the paint?
No. ORACAL 970RA is designed for vehicle wraps and comes off cleanly when warmed and peeled slowly. Our guide on removing decals works on any van.
More for your Transporter
Looking for more ideas? Our VW Transporter and Multivan decals guide covers side kits, window graphics and retro stripes, or browse all Volkswagen decals.
Got your doors done? Tag us on Instagram, and subscribe on YouTube for more installs and workshop videos.